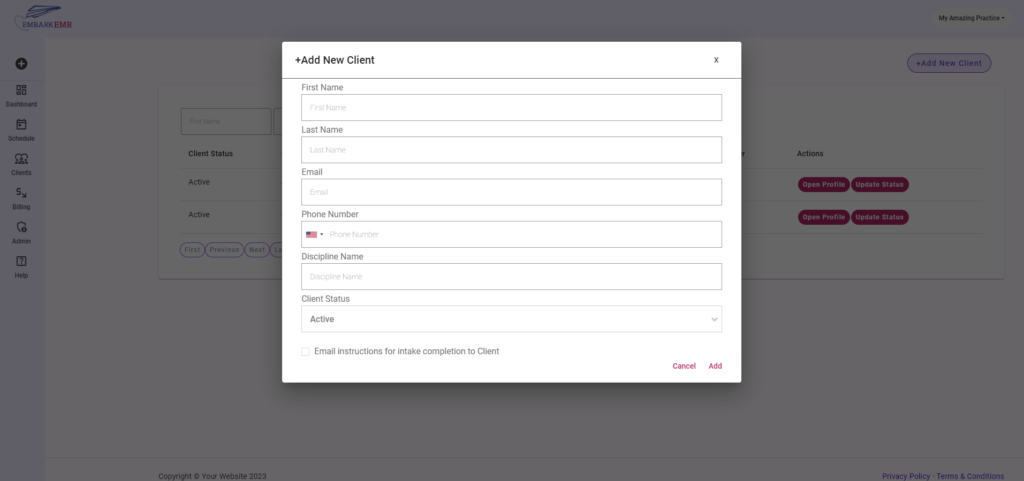
Access the “Add New Client” Dialogue box
There are two ways to access the “Add New Client” dialogue box.
Method 1: From the Quick Add Button
From the left menu, click the “+” button at the top, then click Client from the appearing menu, a dialogue box will appear.
Method 2: From the Client Manager
From the left menu, click the “Clients” button, then click the “+ Add New Client” button in the top right corner of the page, a dialogue box will appear.
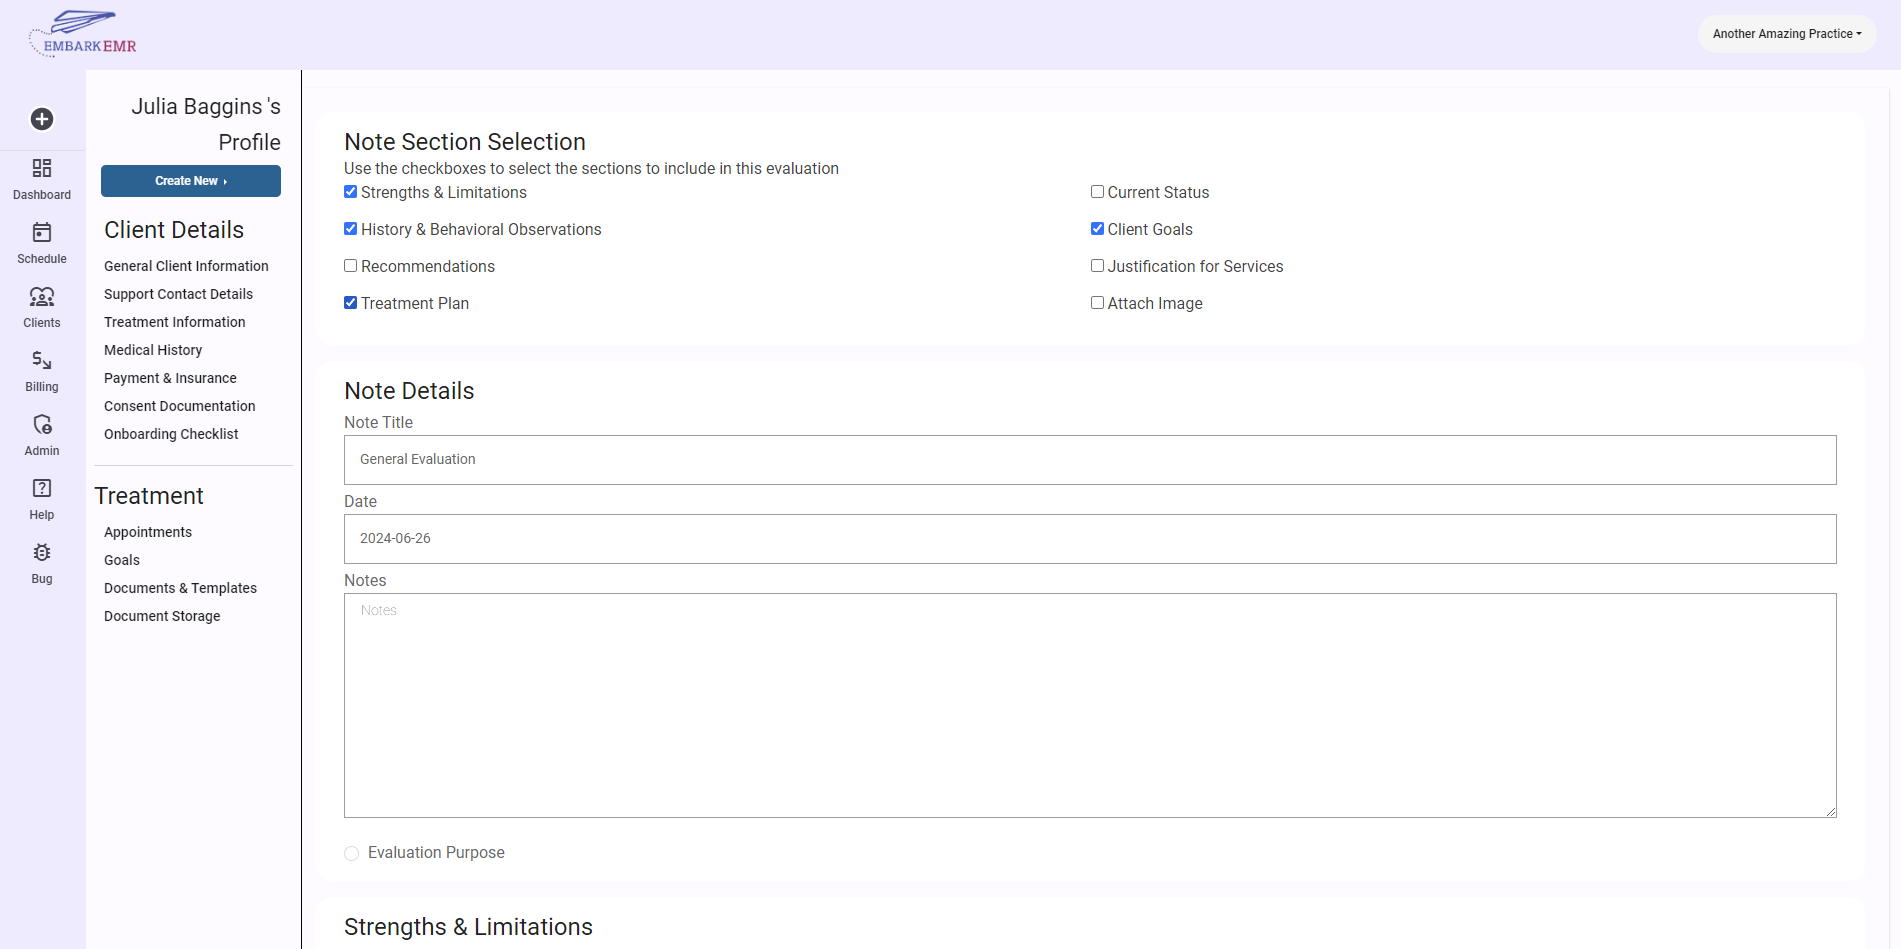
Add Client Information
Within the dialogue box, you can add the below information
- First Name (Required): The client’s first name
- Last Name (Required): The client’s last name
- Email: The client’s email address. The entered email address will become the login the client will use to access the client portal and recieve their appointment reminders.
- Phone Number: The client’s phone number. The entered phone number will be the number where the client will receive their appointment reminders.
- Discipline Name: Specify the discipline of the sessions the client wil be seen for.
- Client Status: You may select from Active, Inactive, Waitlist, and Potential Client
Send Instructions to Access Client Portal
By checking the box at the bottom of the dialogue box, the client will receive an automated email to the specified email address with instructions on how to access the client portal. They will first need to set their password. From the client portal, they will be able to fill out intake forms and electronically sign consent documentation.